Pre-infusion is a short burst of low-pressure water that wets the coffee puck before the machine applies full extraction pressure. It usually lasts a few seconds at a pressure well below the 9 bar used for extraction. The point is to let the dry coffee bed absorb water and swell evenly beforeit has to resist a wall of pressure — which is the moment channeling is most likely to start.
It matters because a dry puck is not uniform. Ground coffee holds air pockets and small density variations no matter how carefully you prepared it. Hit that bed with 9 bar immediately and the water finds the least resistant path through it, carving a channel and leaving the rest of the coffee under-extracted — a shot that tastes sour and bitter at once. Wet it gently first and the grounds swell and close those gaps, so by the time full pressure arrives the bed presents even resistance across its whole surface.
If you have ever wondered why a cafe's shots taste consistently better than yours on the same beans, pre-infusion is one of the two or three real answers — alongside a better grinder and better puck prep.
What it changes in the cup
Three things, in descending order of reliability.
More even extraction. This is the main effect and the one with a clear mechanism. Fewer channels means more of the coffee contributes to the shot, which usually reads as more sweetness and less of the harsh, hollow edge that channeled shots have.
A slower, more controlled start. Pre-infused shots typically take a little longer to first drip and then run more steadily. That stability is itself useful, because an erratic shot is one you cannot repeat.
More forgiveness. This is the quiet benefit. Pre-infusion widens the range of grind settings and doses that produce a drinkable shot, which is enormously helpful when you are still learning or when you change beans. It does not make a bad puck good; it makes a slightly-off puck survivable.
It is the same idea as the bloom in filter coffee
If you have made pour-over, you have already done this. The bloom— pouring a small amount of water over the grounds, waiting thirty seconds, then starting the main pour — exists for an overlapping reason: fresh coffee releases carbon dioxide when it meets water, and that gas physically pushes water away from the grounds and makes extraction uneven. Letting it escape first, and letting the bed settle, evens out everything that follows.
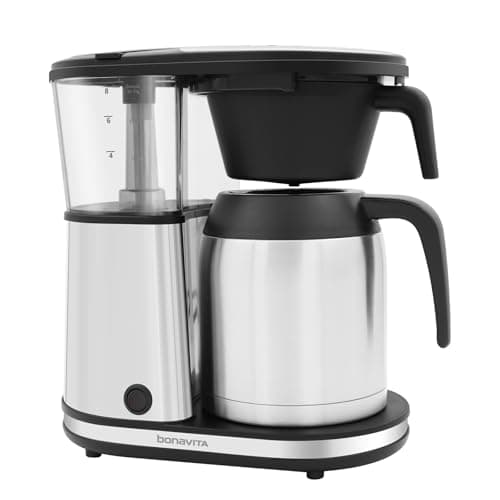
Some drip machines do this automatically, which is why it appears on a spec sheet as "pre-infusion mode" on a brewer like the Bonavita Connoisseur — the same principle borrowed from manual pour-over technique. Our pour-over guide covers the manual version.
Which machines actually have it
There are three ways a machine can do this, and they are worth telling apart.
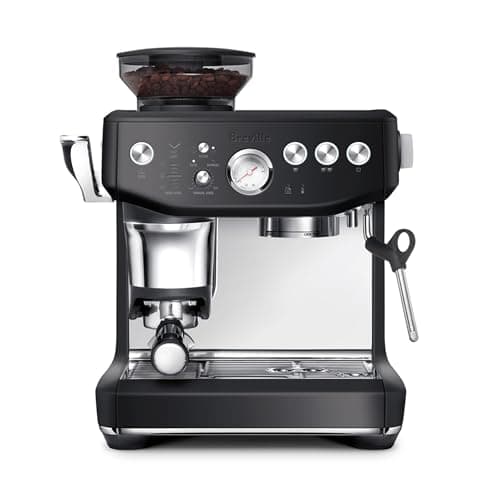
Published, fixed pre-infusionis the common version on consumer machines: the machine runs a built-in low-pressure stage ahead of extraction and you cannot change it. Breville publishes exactly this on the Barista Express Impress — low-pressure pre-infusion ahead of 9 bar extraction, alongside PID temperature control at 200°F. You get the benefit automatically and you get no say in it, which for most people is the right arrangement.
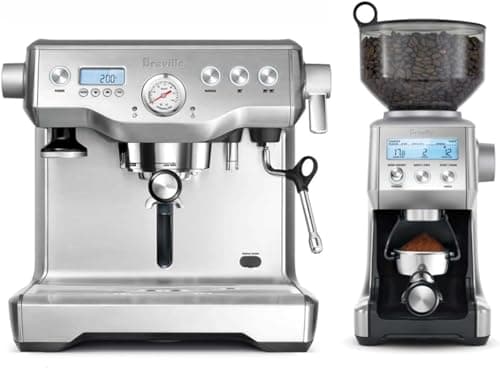
Programmable pre-infusion is the prosumer version: you set the pressure and the duration, which lets you tune the stage to the coffee. This is the territory of machines like the Breville Dual Boiler, where PID temperature control holds brew water dead steady shot to shot and two independent boilers let you extract and steam simultaneously. It is a real capability and it costs real money.
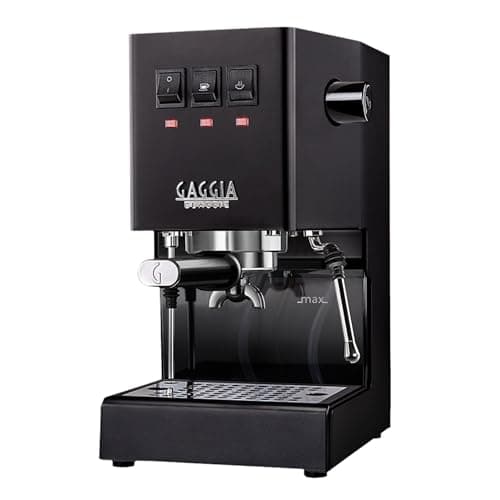
Mechanical or manualis the third route. E61 group heads achieve a similar effect through their design, lever machines give you direct control of the whole pressure curve by hand, and on a machine with no pre-infusion stage at all, enthusiasts get at it through modification — which is a large part of why the hugely moddable Gaggia Classic Evo Pro has the community it has. With a 58mm commercial portafilter, a metal body and a platform people have been modifying for decades, it is the machine people choose precisely because they intend to change it.
Should you pay for it?
Honestly: it is a genuine feature and it is still not the first thing to buy. Pre-infusion reduces channeling by evening out how the puck meets the water. A good grinder reduces channeling by making the puck even in the first place, and a WDT tool costs a fraction of the price difference between two machines and attacks the same problem directly. Spend in that order: grinder, puck prep, then machine features.
Where pre-infusion earns its place on a spec sheet is as a tiebreaker. If you are choosing between two machines at a similar price and one publishes a pre-infusion stage, that is a real point in its favor — unlike the bar rating, which every machine inflates and which tells you nothing. Our best espresso machines for beginners roundup notes which machines publish it.
How to tell whether your machine pre-infuses
Watch the shot. On a machine with a pre-infusion stage you will usually see a short pause after you start the pump — the pump runs or pulses quietly, nothing comes out of the portafilter for a few seconds, and then the first dark drops appear and build into a stream. On a machine without it, the pump goes straight to pressure and the first drops come sooner and faster.
The clearer test is a bottomless portafilter. With the puck exposed you can see the surface wet evenly and darken before flow begins. It is also the test that tells you whether your pre-infusion is doing any good, because you can watch whether the shot still sprays sideways afterwards.
Pre-infusion will not rescue these three things
A bad grinder.If the grind contains boulders and dust, wetting it gently produces an evenly wetted uneven bed. The particle distribution is the problem and only a better grinder fixes it — see the best espresso grinders under $200.
A clumped, undistributed puck. Clumps are dense lumps that resist water regardless of how slowly it arrives. Stirring the dry grounds with a WDT tool is the direct fix, and it is the cheapest intervention in espresso.
Stale or wrongly dosed coffee. No pressure profile compensates for coffee that has given up its aromatics, or for 14 g of coffee in an 18 g basket. Freshness and dose come first; how to dial in espresso is the order of operations.
Degassing, and why fresh coffee needs it most
Coffee releases carbon dioxide for days after roasting. Very fresh coffee — within about the first week off the roaster — releases enough that the gas actively disrupts extraction, which is why shots from a just-opened bag often gush, taste hollow, or produce a huge unstable crema. Pre-infusion helps here specifically, because the low-pressure stage gives the gas somewhere to go before the extraction proper begins.
It is also why waiting a few days after roasting is standard practice for espresso. If your shots are erratic on a brand-new bag, the bag may simply be too new; how long coffee beans last covers the useful window at both ends.
Pressure profiling: the next step up, and what it is not
Pre-infusion is the first few seconds of a shot. Pressure profiling is control over the pressure across the wholeshot — ramping up, holding, then declining — and it lives on lever machines, flow-control-equipped prosumer machines, and the small number of consumer machines that expose it. It is a hobbyist's tool with real effects and a steep learning curve, and nobody needs it to make excellent espresso at home. If you are being sold "profiling" on an entry machine, check whether it means anything more than a fixed pre-infusion stage.
Where to spend instead, in order
Fresh whole beans and a burr grinder that can grind fine and consistently. A scale, so dose and yield are repeatable (espresso scales). A WDT tool and a single-wall basket. A level, consistent tamp (tamping guide). Only then does paying for machine features — pre-infusion, PID, a second boiler — become the best available use of the next dollar.