The AeroPress is the most quietly clever brewer in any coffee cupboard. You put a paper micro-filter in the cap, add grounds, pour in hot water, stir, and then press the plunger down with your hand. That combination is the whole trick: the coffee steeps like a French press (full immersion), and then a gentle push of air forces it through paper in a few seconds. The result is a clean, low-bitterness cup made in about two minutes, and cleanup that takes ten — you pop the spent puck straight into the bin and rinse the seal.
Two things make it a genuine cult object rather than a gimmick. First, the paper filter catches the oils and fines a metal mesh lets through, so the cup is cleaner and less bitter than press coffee while keeping some of immersion's body — a middle ground no other cheap brewer quite hits. Second, it is nearly unbreakable. The body is plastic, it shrugs off drops that would shatter a glass carafe, and there is nothing to leak or clog, which is why it dominates travel, camping, and desk drawers everywhere.
One honest caveat up front, because the box invites the confusion: the AeroPress is notan espresso maker. You build only a few bars of pressure by pressing with your arm, while real espresso is pulled at around 9 bar by a pump. So while a short, concentrated "espresso-style" recipe is popular and tastes great, you do not get the thick, stable crema of a true shot. Judge it as what it is — a fast, forgiving, low-bitterness immersion brewer — and it is close to unbeatable for the money.
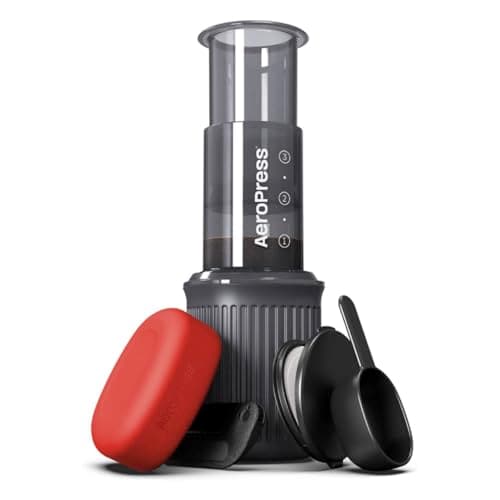
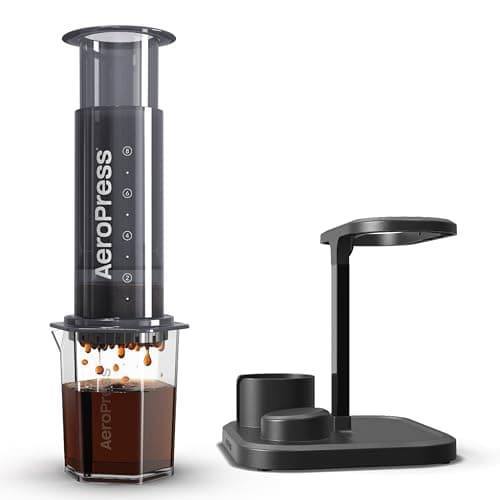
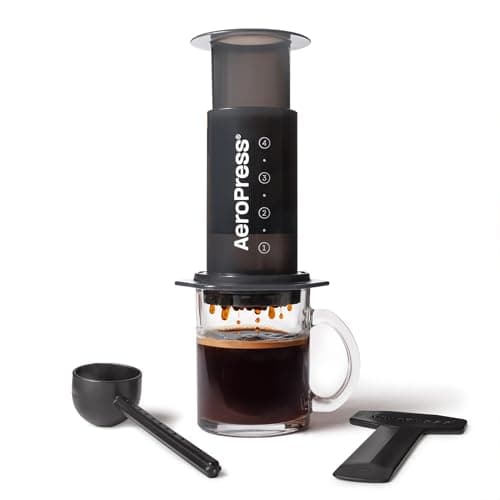
All three models brew identically; the only real question is size and portability. The AeroPress Original is the one to buy for almost everyone: it makes one or two cups, costs the least, and is the model the huge recipe community is written around. The AeroPress Go is the same brewer packed inside its own travel mug with a lid — the same cup, built to live in a bag, at a small premium for the packaging. The AeroPress XL roughly doubles the capacity and ships with a carafe, so it brews for two or three people in a single press — a countertop tool, not a travel one.
What to skip? Don't buy the Go if the brewer is only ever going to sit on your kitchen counter — you'd be paying extra for a travel case you never use, and the Original does the same job for less. And don't reach for the XL as a solo drinker: its size is wasted on a single cup, and the Original makes one cup better and cheaper. The AeroPress is also not the answer if you want a full carafe waiting on a timer — that is a job for a thermal-carafe drip machine. As with every brewer, the grind matters more than the model: an even, medium-fine grind from a burr grinder lifts the cup far more than choosing between these three ever will.
How to choose an AeroPress — and get a great cup from it
There is only one buying decision (size), so most of this is about brewing well. The method is forgiving, but a few habits separate a good cup from a flat one.
1. Pick the size by where it lives, not by ambition
The Original is the default: one or two cups, lowest price, and every recipe online assumes it. Choose the Go only if portability is the actual point — it genuinely packs into its own mug and is the better travel companion. Choose the XL only if you regularly brew for two or three people at once; it comes with a carafe for exactly that. Buying "up" for headroom you won't use just makes the daily brew more awkward.
2. Grind medium-fine, and grind it evenly
The AeroPress likes a grind a little finer than drip — roughly table-salt fine — but the bigger deal is evenness. Because the water and grounds are in contact for such a short time, uneven particles extract at different rates and muddy the cup. That's why a burr grinderearns its place here just as it does on a pour-over; a blade grinder's mix of dust and boulders is the most common reason a home AeroPress underwhelms.
3. Water temperature and time are the two dials
Aim for water in the SCA brewing window of 195-205°F — just off the boil is fine — because cooler water under-extracts and turns the cup thin and sour. Steep for around a minute, stir, then press slowly and steadily for another twenty to thirty seconds; a slow press is smoother than a hard, fast shove. Lighter roasts generally want hotter water and a slightly longer steep; darker roasts want it a touch cooler and shorter.
4. Regular versus inverted — and the espresso-style trap
The standard method (cap down, brewer on the mug) is the easiest and cleanest. The "inverted" method (brewer upside down, flipped onto the mug before pressing) lets the coffee steep longer without dripping and is a favorite for stronger recipes — worth learning, but not necessary for a good cup. If you chase a short, concentrated espresso-style shot, enjoy it for what it is: strong and syrupy, but without the true crema of a real espresso machine, because you simply can't make 9 bar by hand.