A wet puck is usually not a problem, and the single most useful thing to know about it is this: if the shot tasted good and ran in roughly the time you expected, the puck's condition does not matter. Judge espresso by the cup and the clock, not by what the basket looks like afterward. The three situations where a wet puck is telling you something are under-dosing, channeling, and a machine that is not clearing water from the group afterward — and each has a different tell.
Why pucks are wet in the first place
Two ordinary mechanisms, neither of them a fault.
The coffee is soaked, by design.Brewing forces water through a dense bed of ground coffee under about 9 bar of pressure. When the pump stops, the coffee is saturated — it has absorbed roughly twice its own weight in water. Dry coffee going in, soaked coffee coming out, is simply what happened.
Headspace fills with water. Most home machines, after the shot ends, leave water sitting in the space between the shower screen and the top of the puck. Some machines release pressure and draw a little of that water back; many do not, so it sits there and you find a shallow pool when you unlock the portafilter. This is the main reason the same coffee gives a damp puck on one machine and a soup on another, and it is why a perfectly good machine can produce a wet puck forever.
So the honest baseline: a puck that is damp, holds its shape, and can be knocked out in one piece is fine. A puck with a layer of standing water on top is extremely common and usually fine. Both of those describe most home espresso setups, including expensive ones — machines as different as the CASABREWS CM5418 and the Rancilio Silvia can both leave water in the headspace, for the same reason.
Case 1: the puck is wet because you under-dosed
The tell: the puck is thin, sloppy, breaks apart when you knock it out, and there is a visible gap between the puck and the shower screen. Often the shot also ran fast and tasted sour.
This is the one genuinely worth fixing, and it is the most common real cause. Every basket is designed around a dose range — a standard double is usually around 18g — and under-filling leaves headspace that fills with water and gives the coffee room to move during the shot. A bed that shifts extracts unevenly, which is the actual problem; the wet puck is just the visible symptom.
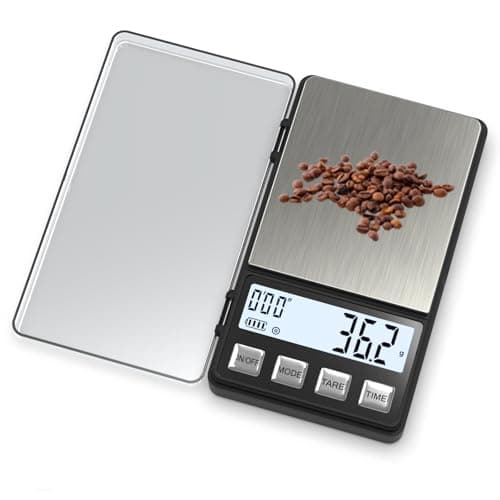
The fix:weigh your dose. Not estimate it, not fill to a line — weigh it, because grind size and roast level change the volume a given weight occupies, which is why "fill to the top" produces wildly different doses from different bags. Find your basket's intended dose, hit it on a 0.1g scale, and this case resolves. Our best espresso scales page covers the hardware and how to dial in espresso covers the routine.
Case 2: the puck is wet in patches — channeling
The tell:the puck surface is uneven — craters, pits, or one soggy side and one firmer side. Pulling the basket shows holes where water punched through. The shot probably sprayed, ran faster than expected, or tasted thin and sour despite a correct dose.
Channeling means water found a path of least resistance and rushed through it instead of moving evenly through the bed. The coffee next to the channel is over-extracted, the rest is barely extracted, and the cup is a muddle of both. Unlike a uniformly wet puck, this one is a genuine fault and it is worth chasing.
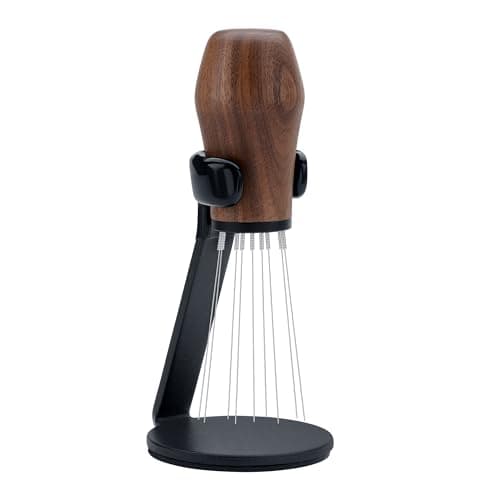
The fix, in order of effect:break up clumps before tamping, tamp level, and grind evenly. A WDT tool — nine fine needles stirred through the dose — is the cheapest and most effective single intervention, because clumping and static are the usual root cause and no tamp fixes a clumped bed. After that, a level tamp (not a hard one; pressure matters far less than evenness) and a grinder that produces a consistent particle size. Our puck prep tools page ranks the whole set, and the tamping guide covers technique.
Case 3: the machine is not clearing the group
The tell: a machine that used to leave a damp puck now leaves standing water every time, and nothing about your routine changed. Sometimes accompanied by a weak or absent hiss after the shot, or water dripping from the group between shots.
Most machines relieve pressure through a valve when the pump stops. If that valve clogs with coffee oils and fines or starts to fail, pressure is released slowly or not at all, and water stays in the headspace. This is the one case on the page that is a maintenance issue rather than a technique issue.
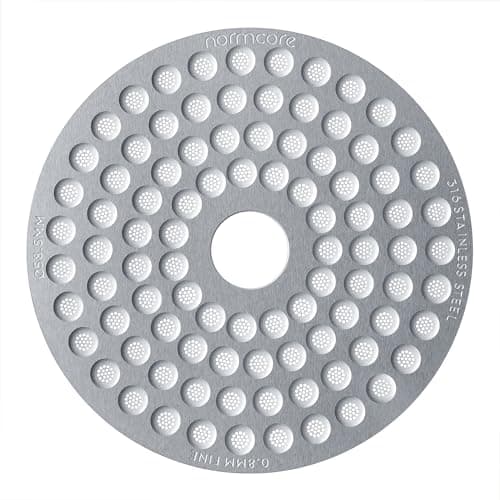
The fix:clean the machine properly — backflush with a dedicated espresso machine cleaner if your machine supports it, and clean the shower screen and the group gasket, which is where the oils accumulate. A puck screen on top of the puck substantially reduces how much coffee reaches the shower screen in the first place, which makes this far less likely to recur, and it is the cheapest preventive item here. Then descale on schedule, since scale affects valves and pathways as well as temperature. Our guide to cleaning an espresso machine is the routine, and the cleaning supplies page covers what to use. If the behavior persists after a thorough clean, it is a valve or solenoid question for a service technician rather than something to fix with puck prep.
What a wet puck is not
It is not a sign of too much water in the shot. Your yield is what came out in the cup, and you should be weighing it. Water in the basket is separate.
It is not caused by tamping too lightly. Tamp pressure has much less effect than people think; evenness is what matters. A hard tamp on a clumped bed still channels.
It is not an argument for a puck screen on taste grounds.A puck screen keeps the group head clean and makes pucks easier to knock out, which are real conveniences. It is not a shot-quality upgrade, and we are not going to sell it as one — a grinder and a WDT tool are where the taste lives.
And it is not a reason to change beans. Different coffees absorb water slightly differently, but roast and origin are not why your puck is wet. If you are chasing a shot that tastes wrong rather than a puck that looks wrong, sour vs bitter espresso is the page that actually helps, and espresso grind size is the adjustment that moves it.
Diagnosing it in one shot
Step 1: weigh in and weigh out
Before changing anything, record three numbers: dose in, yield out, and seconds. Without them you are guessing, and most of this page becomes unanswerable. A cheap 0.1g scale with a timer is enough.
Step 2: look at the puck surface, not the puddle
Standing water on an otherwise flat, intact puck is normal. The informative detail is the surface: craters and pits mean channeling, a thin sloppy disc with headspace means under-dosing, and a flat uniform puck means you are fine regardless of how wet it is.
Step 3: fix one variable and pull again
If the surface is pitted, add a WDT stir and keep everything else identical. If the puck is thin with headspace, raise the dose by a gram or two. Changing two things at once is how people spend weeks not knowing what helped.
Step 4: judge by the cup
A good shot with a wet puck is a good shot. The puck is diagnostic information, not a scorecard, and chasing a dry puck for its own sake has led plenty of people to over-dose their baskets and choke their machines. If the espresso tastes right and the timing is right, stop looking in the basket.